Post by wishihadatalon on Apr 13, 2011 22:40:22 GMT -5
Some people know that I am going to Ferris State for their Welding Engineering Technology program (same as Dan Cox) and during the second year, the students are required to take a fabrication class. In the class, you can choose to do your own project or do one that the teacher assigns to you. I figured if I am spending 15 weeks on what ever I work on, I might as well get to keep what I build. When the class is complete, you must submit a 15 page paper and it gets entered into a competition for a scholarship.
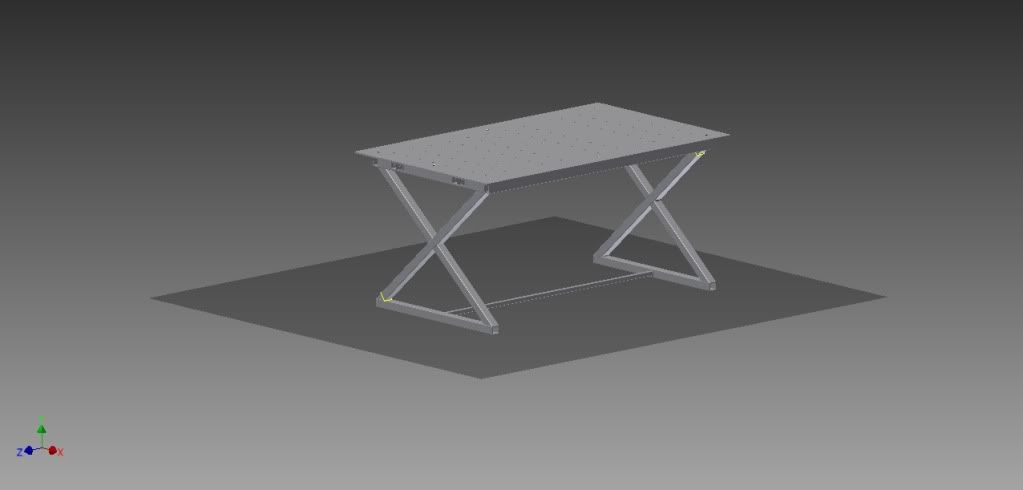
I spent a few days thinking up ideas and finally decided on a design that I liked. I modeled it in Inventor and then made 7 pages of prints for it (no pics of prints, they are pretty standard)
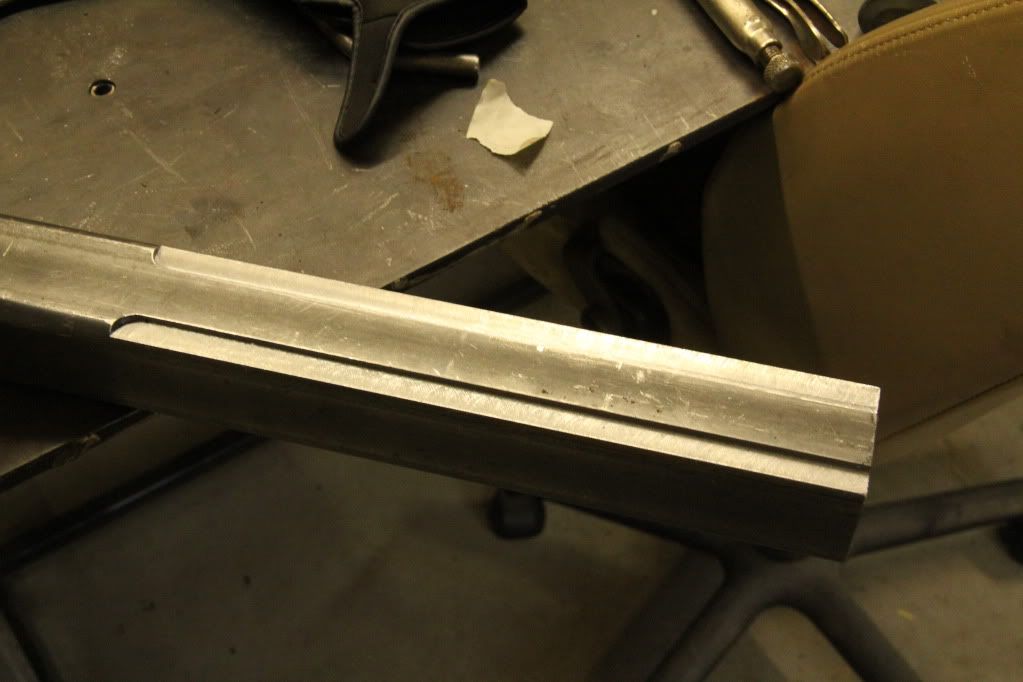
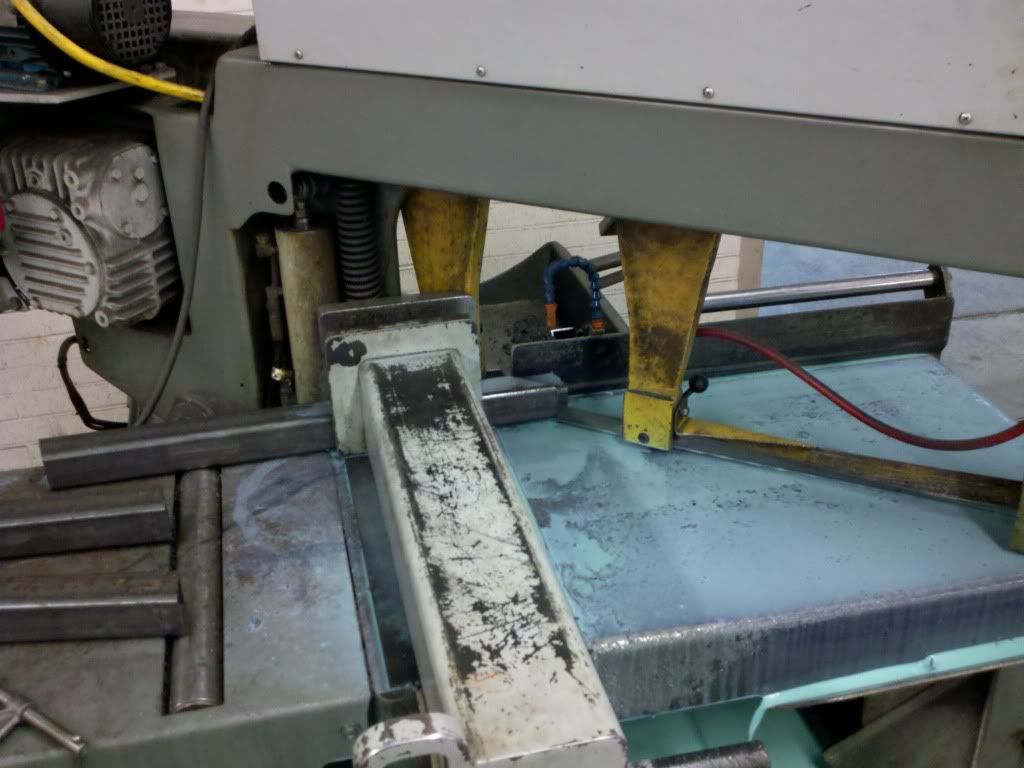
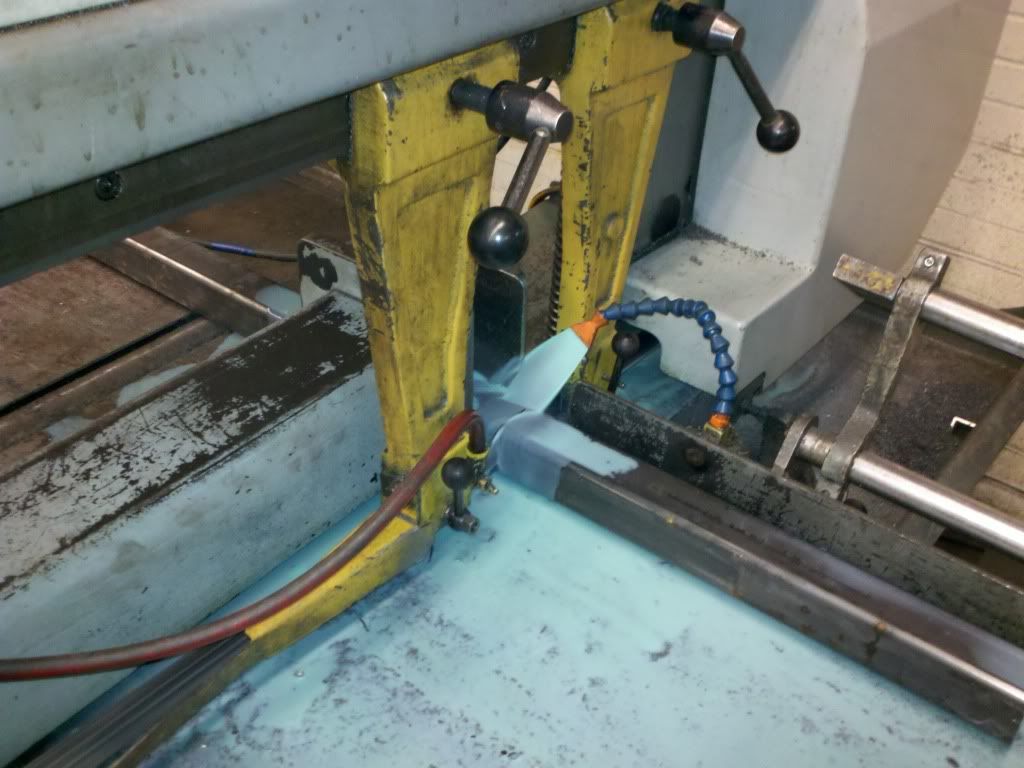
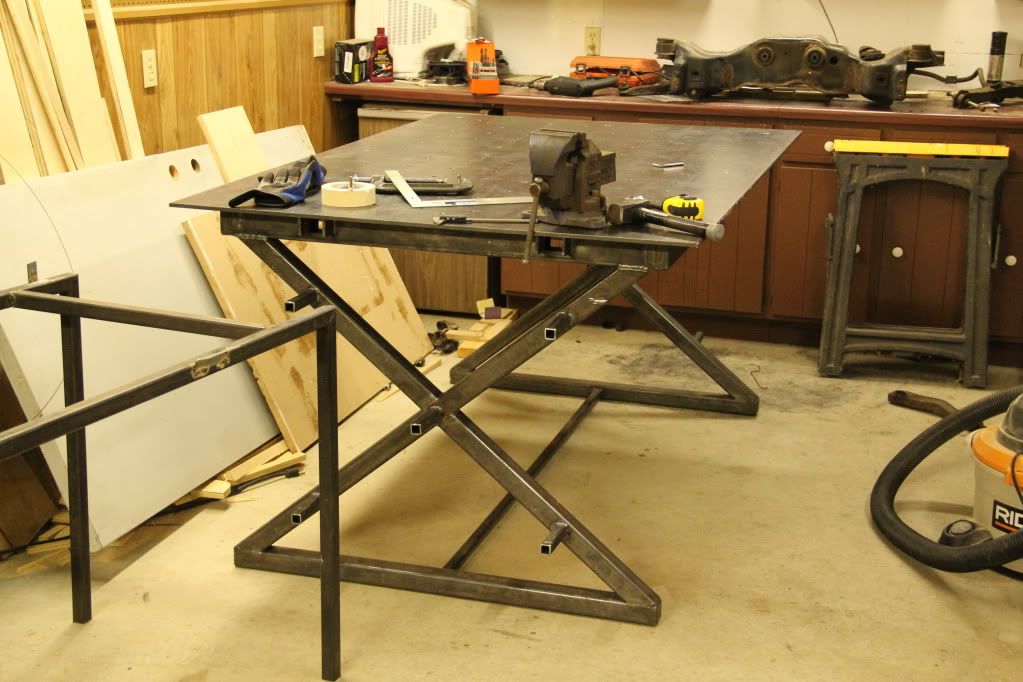
After I received all of my materials, I started doing my detailed cuts for my parts. The table is made from 2x2x3/16" tubing and 2x3x3/16" tubing. The top is made from 3/8" thick steel.
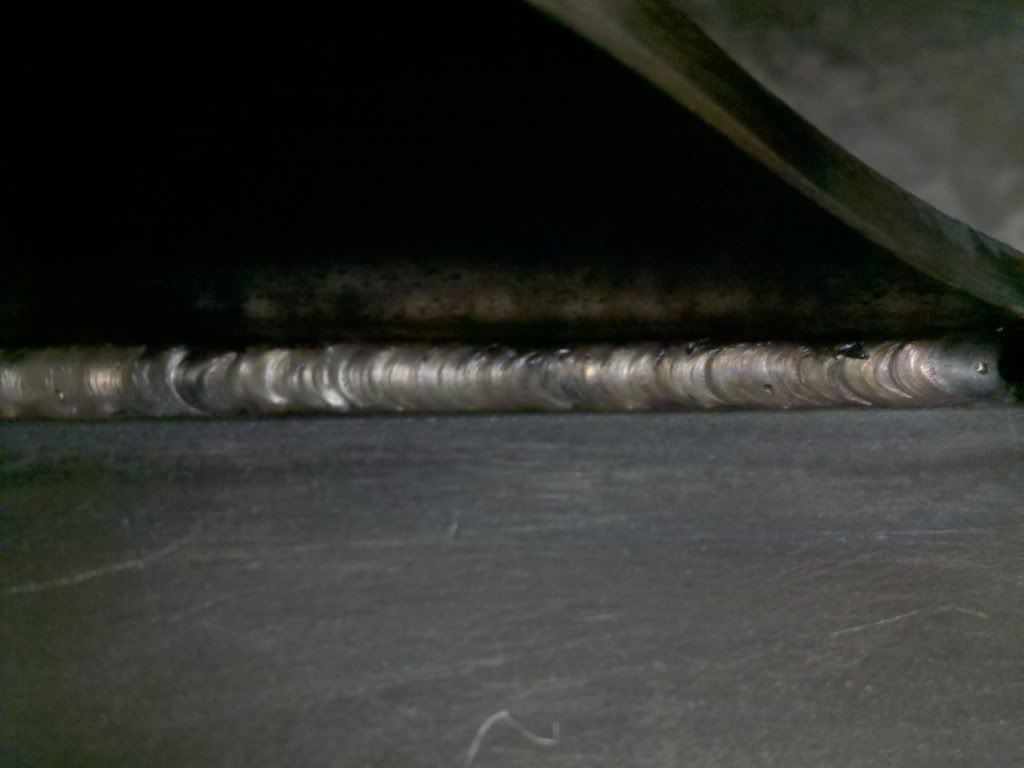
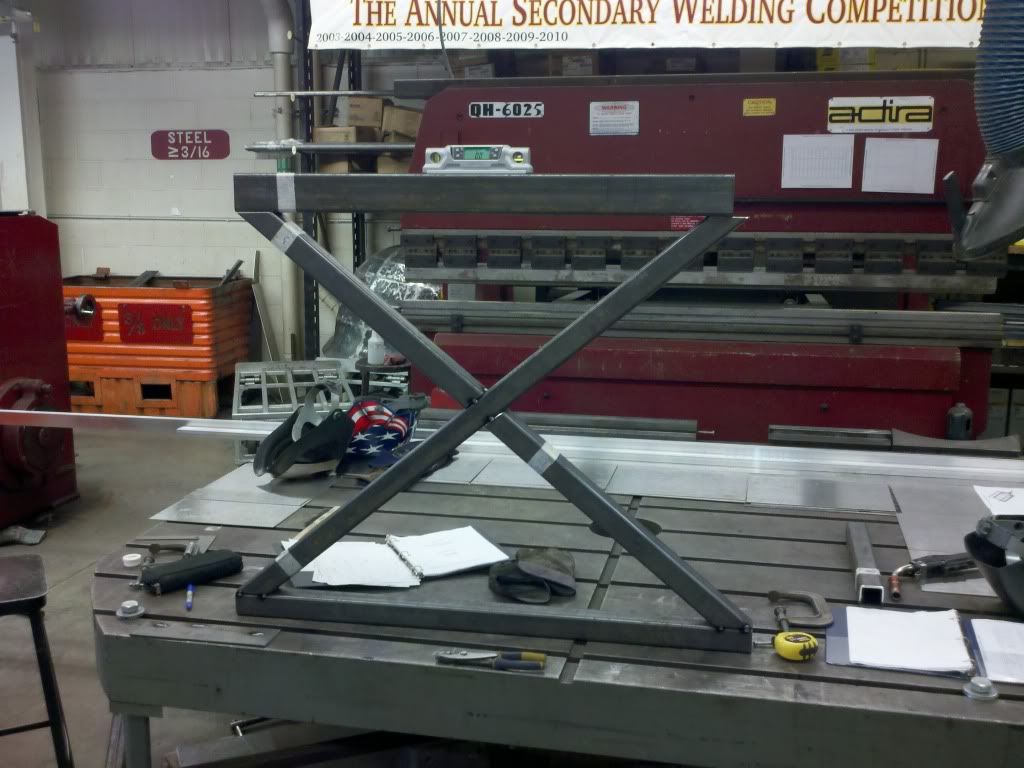
Once the parts were cut, I started working on the legs for the table.
If you look closely, the angle finder says 0.0 degrees (perfectly level
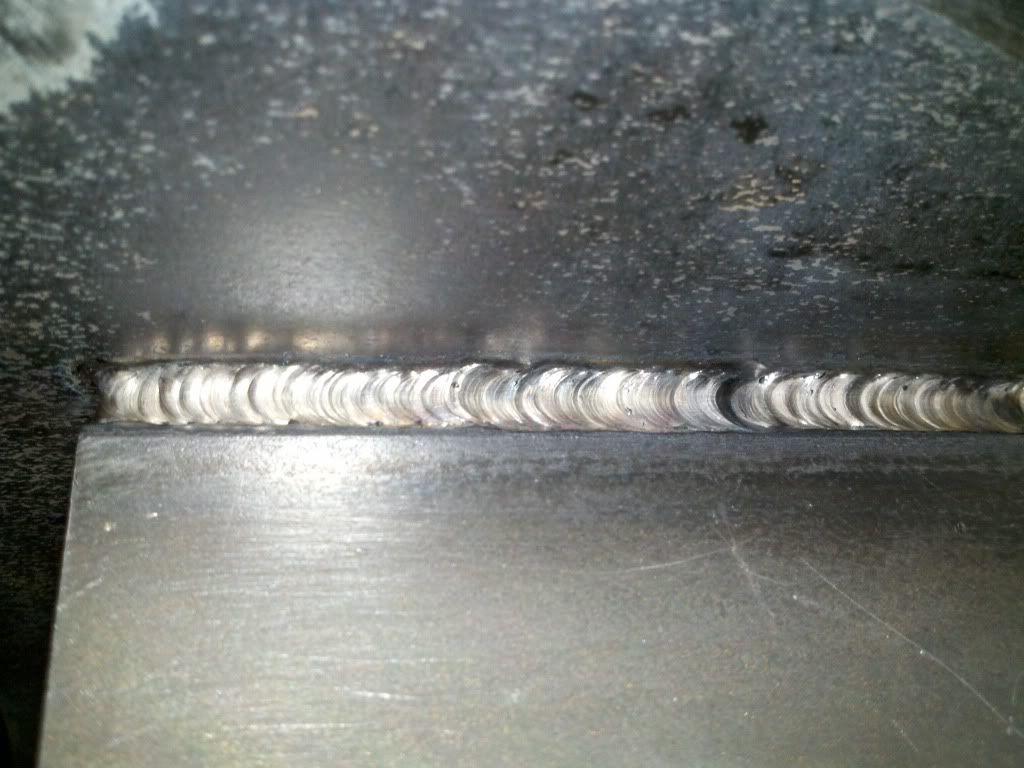
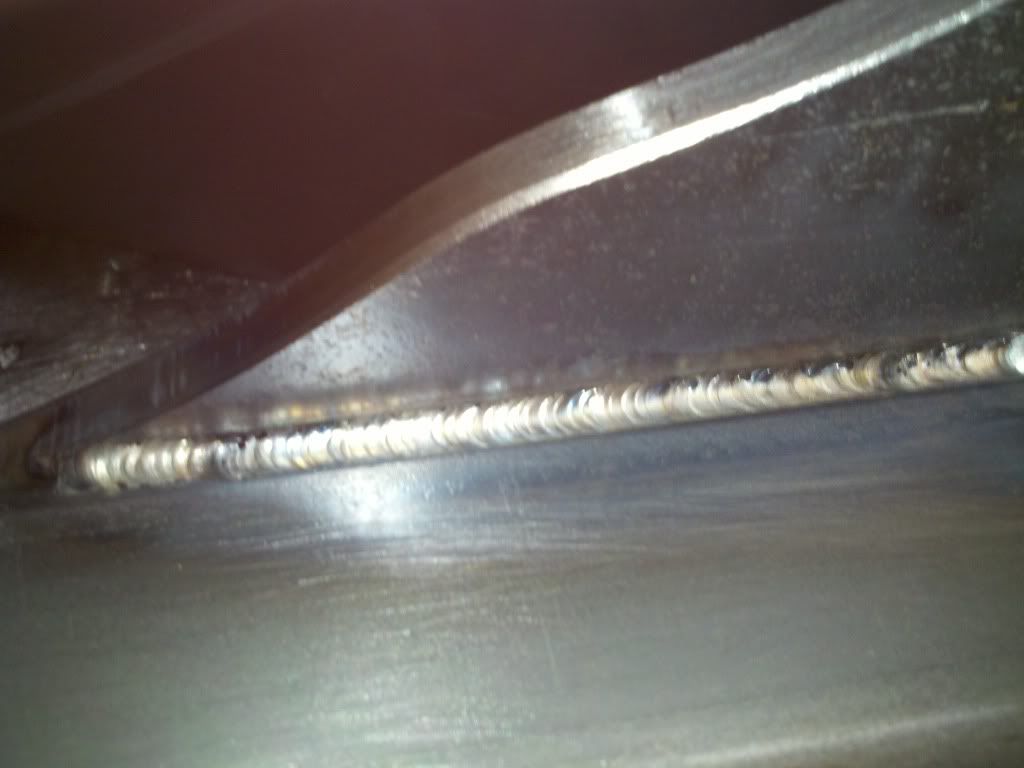
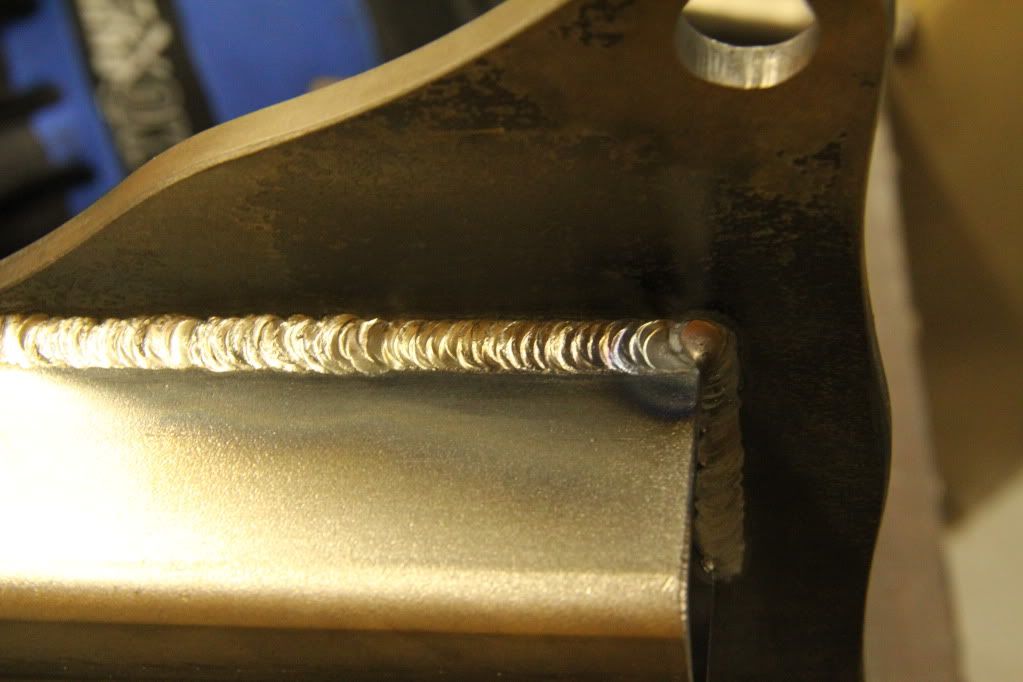
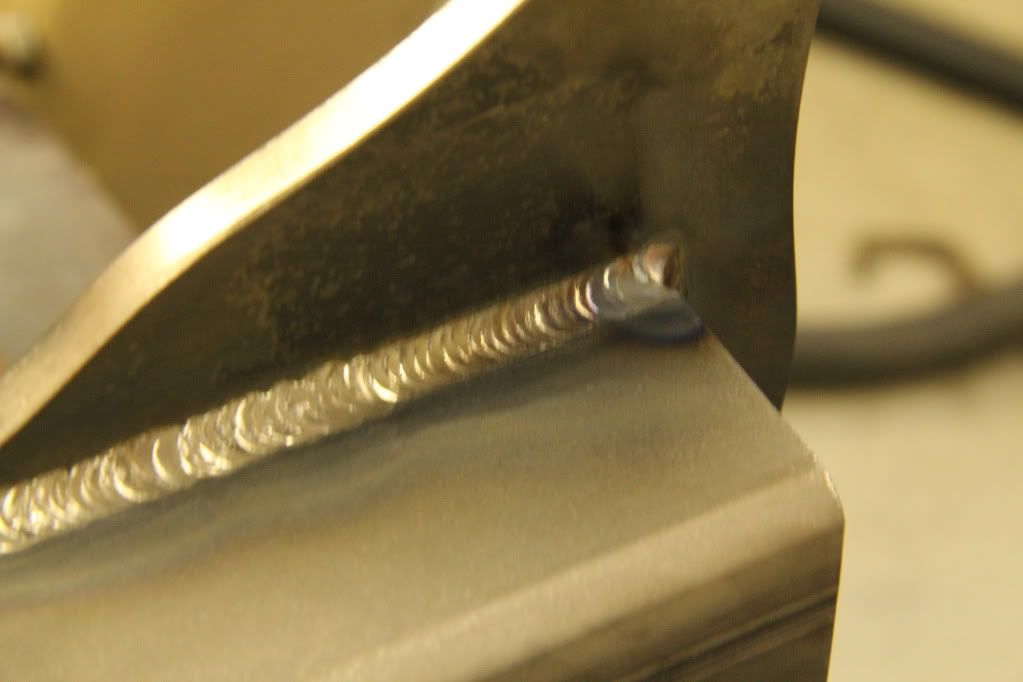
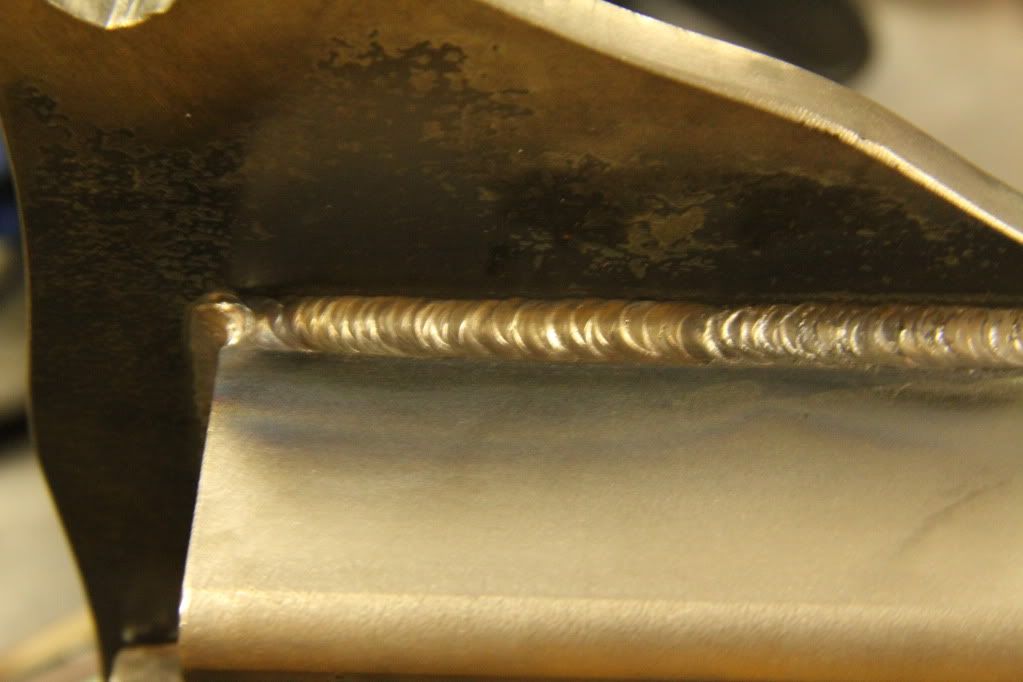
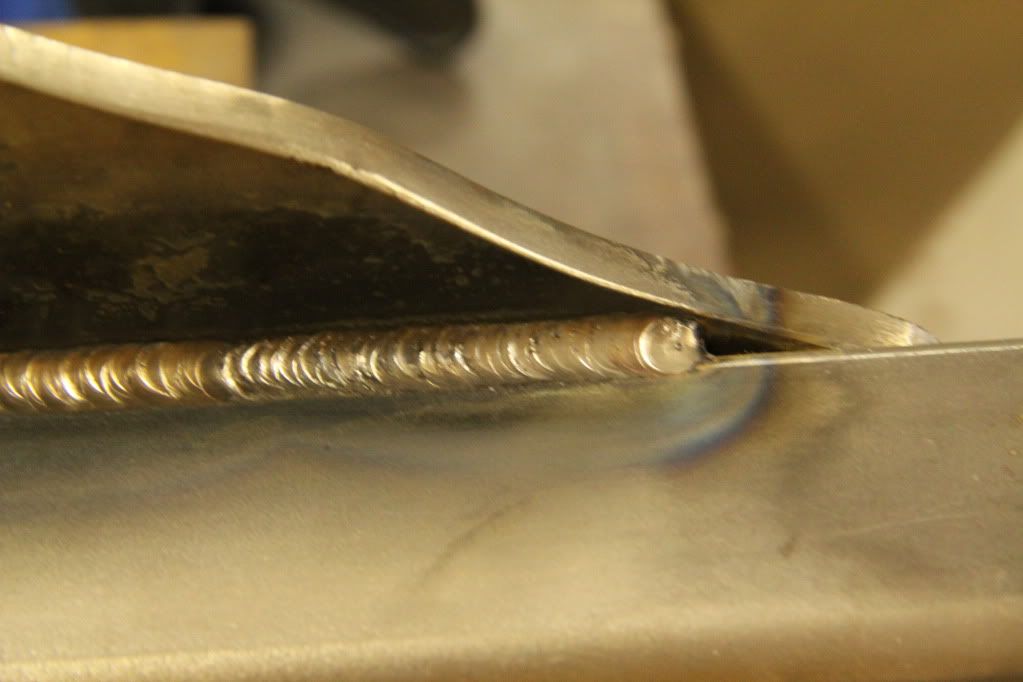
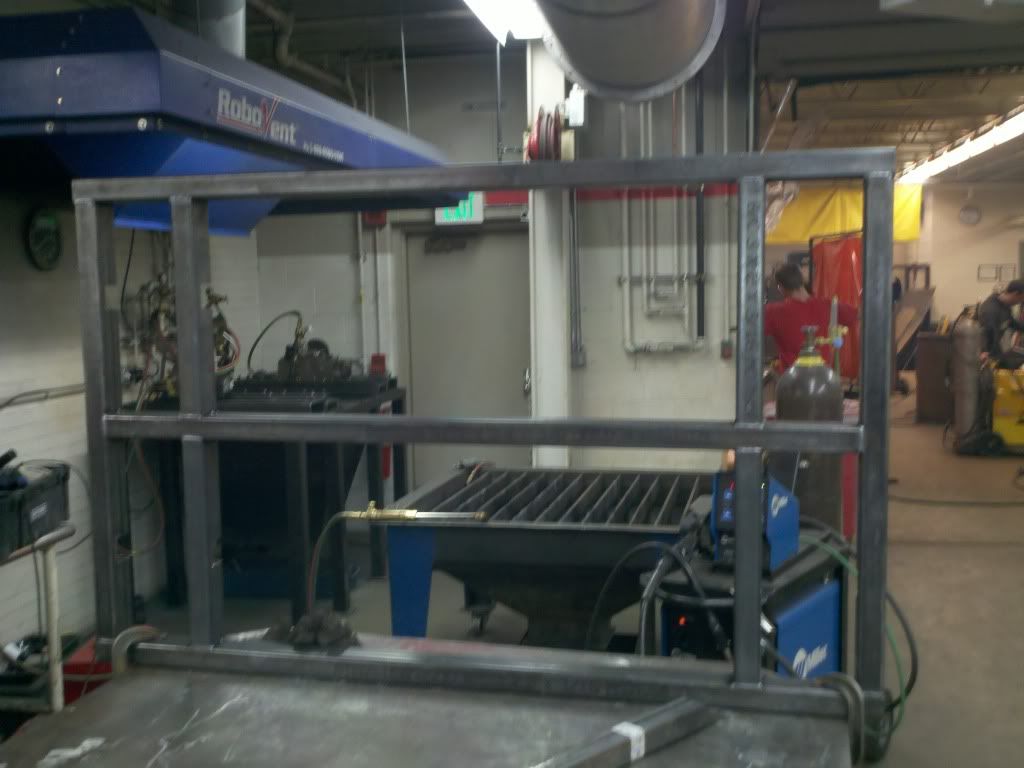
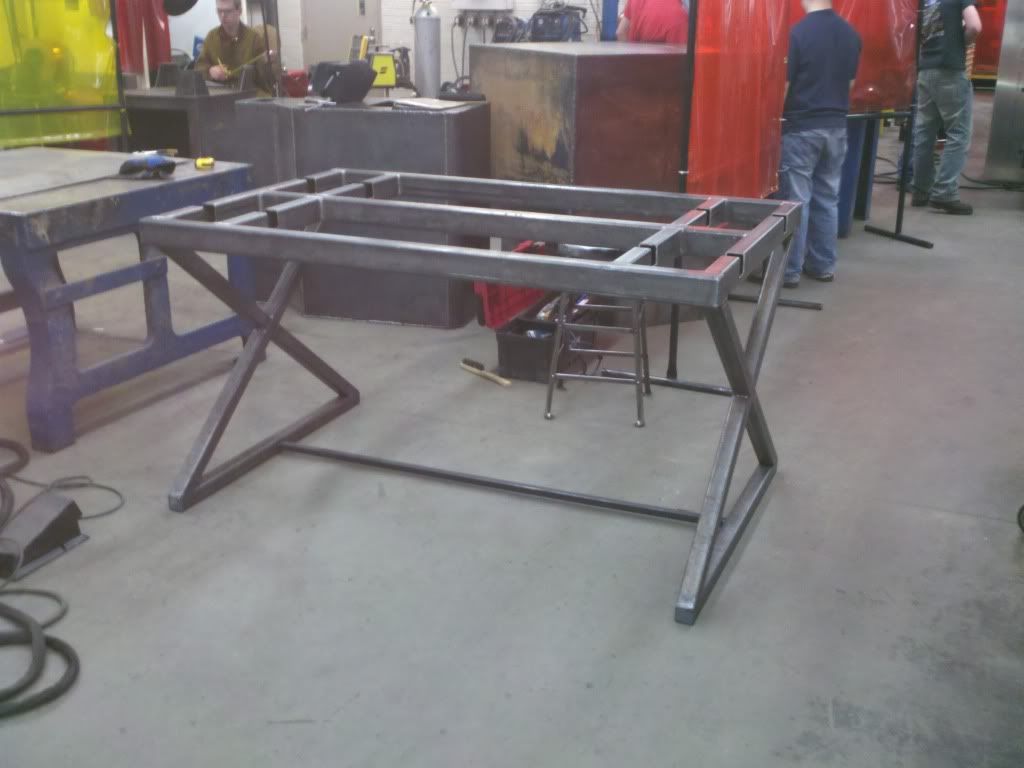
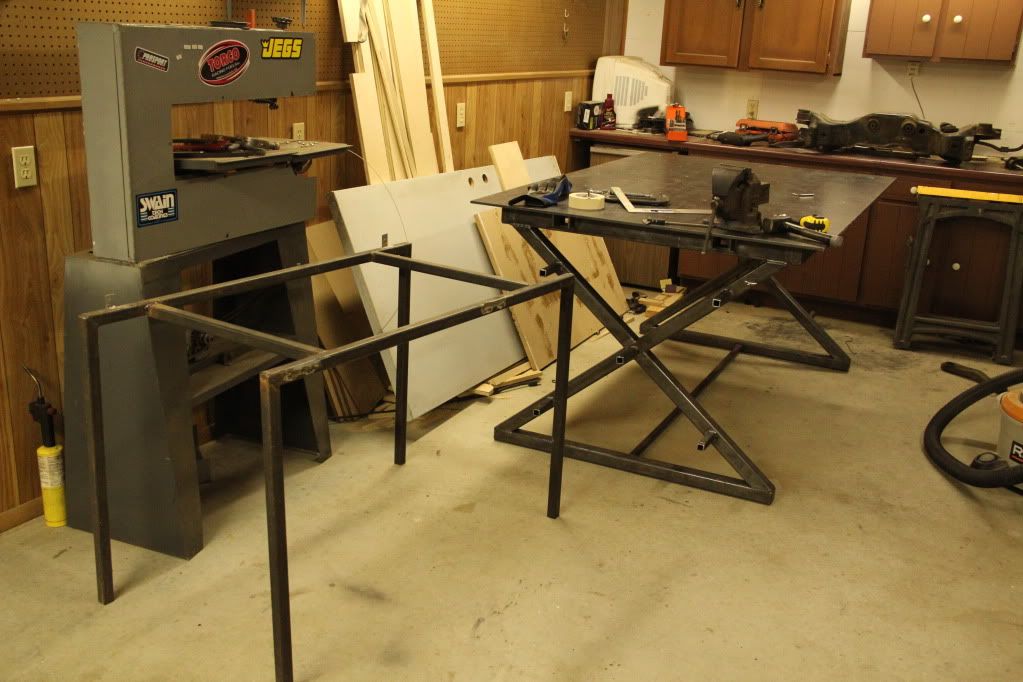
Once the legs were done, I focused on the frame of the table.
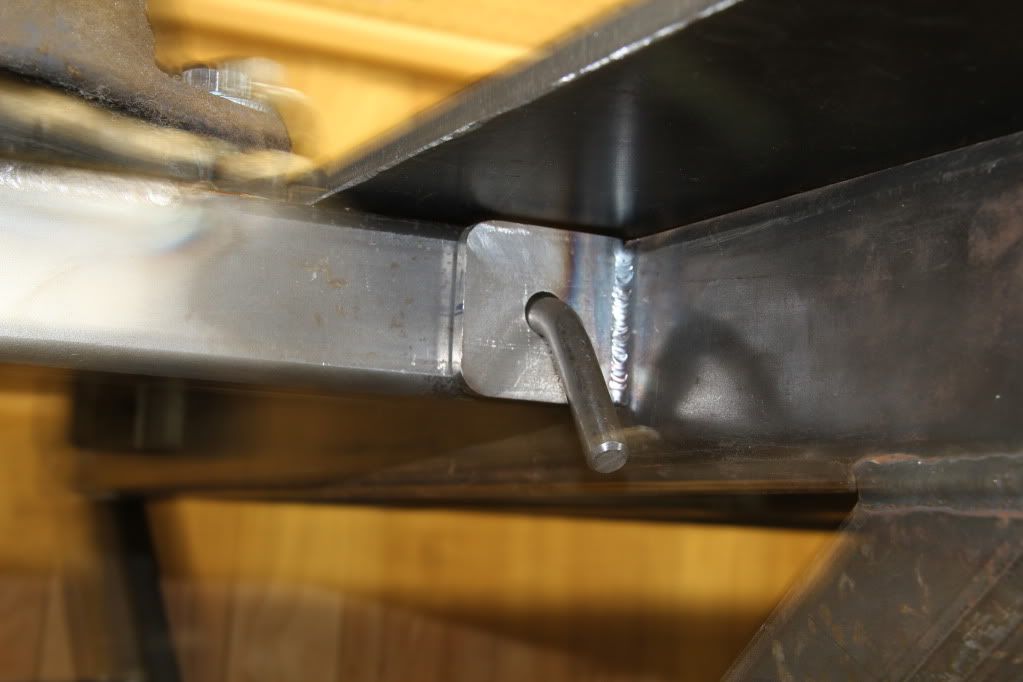
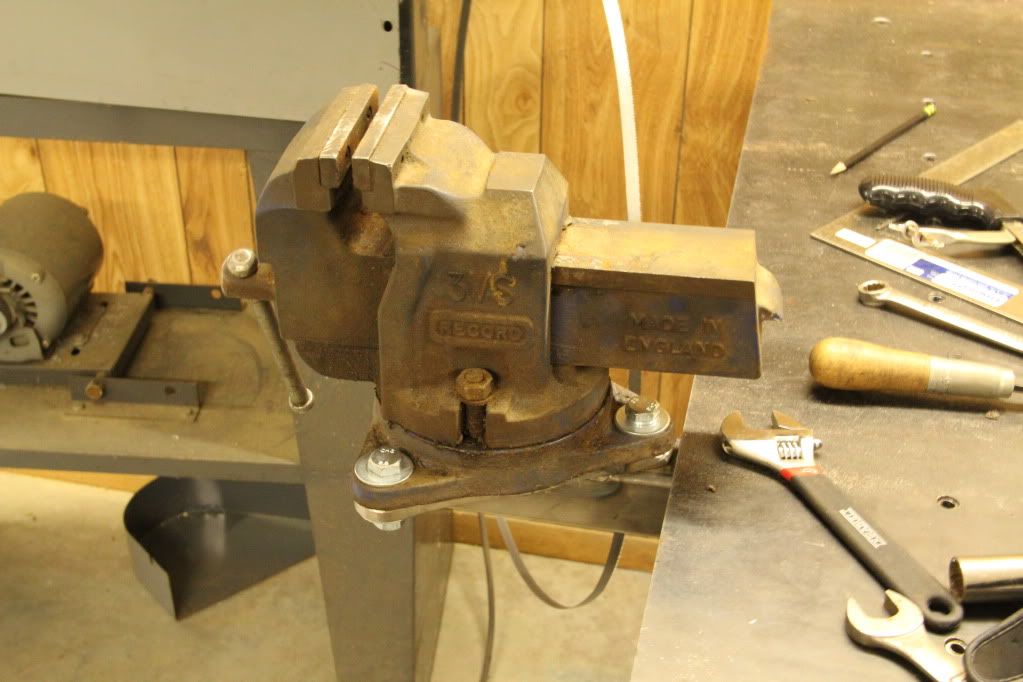
After the frame was done, it was time to join them together. I don't have any pics of when I combined them but I do have a picture of the table standing after I was done. The cut outs on the top are there so that I can mount my bench vise on a post that slided under the top and is held in place with a pin. I will be able to move my vise if its in the way or needs to be placed in another spot to hold something.
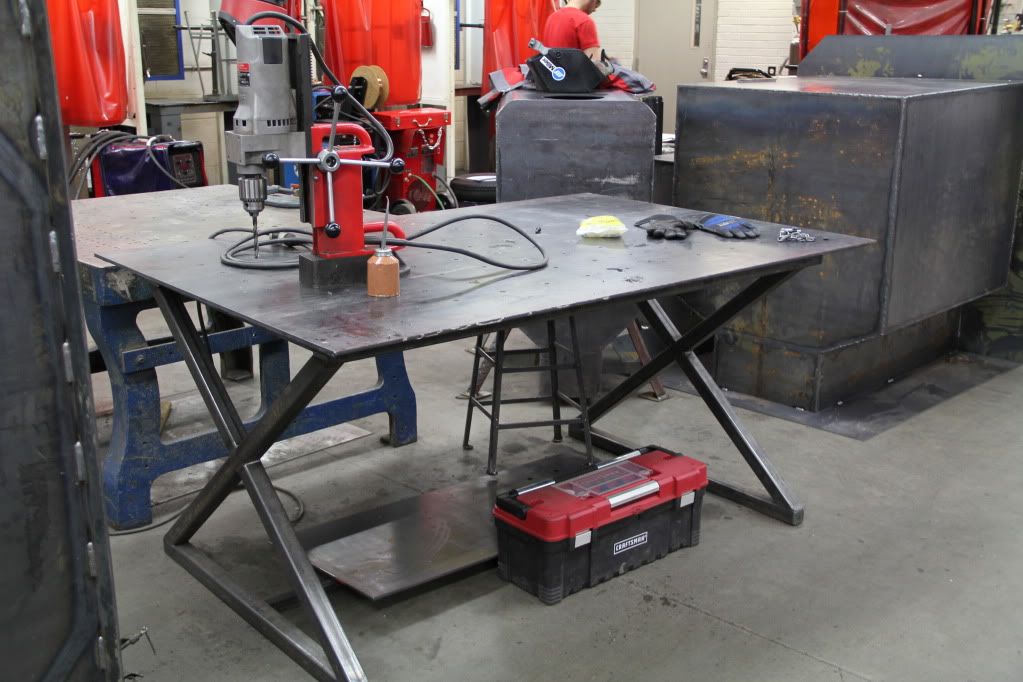
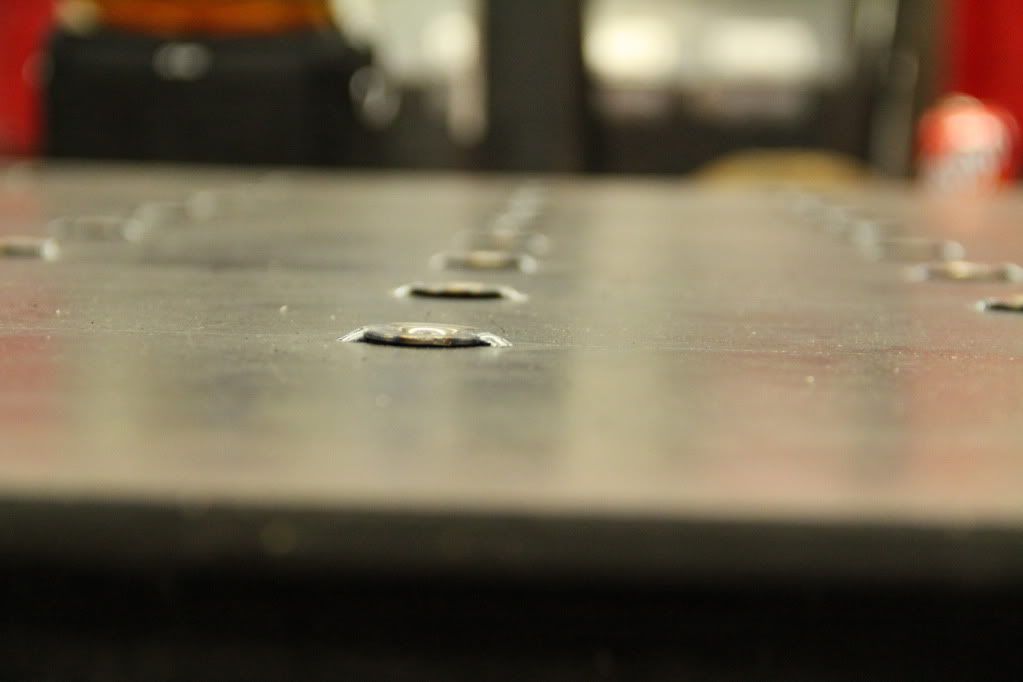
With the frame completed, I needed to focus on the table top. It started as a 48x96" piece of steel and was loaded onto our plasma table. The final dimensions are 72x48. The plasma cutter made quick work of piercing the grid of holes that I wanted.
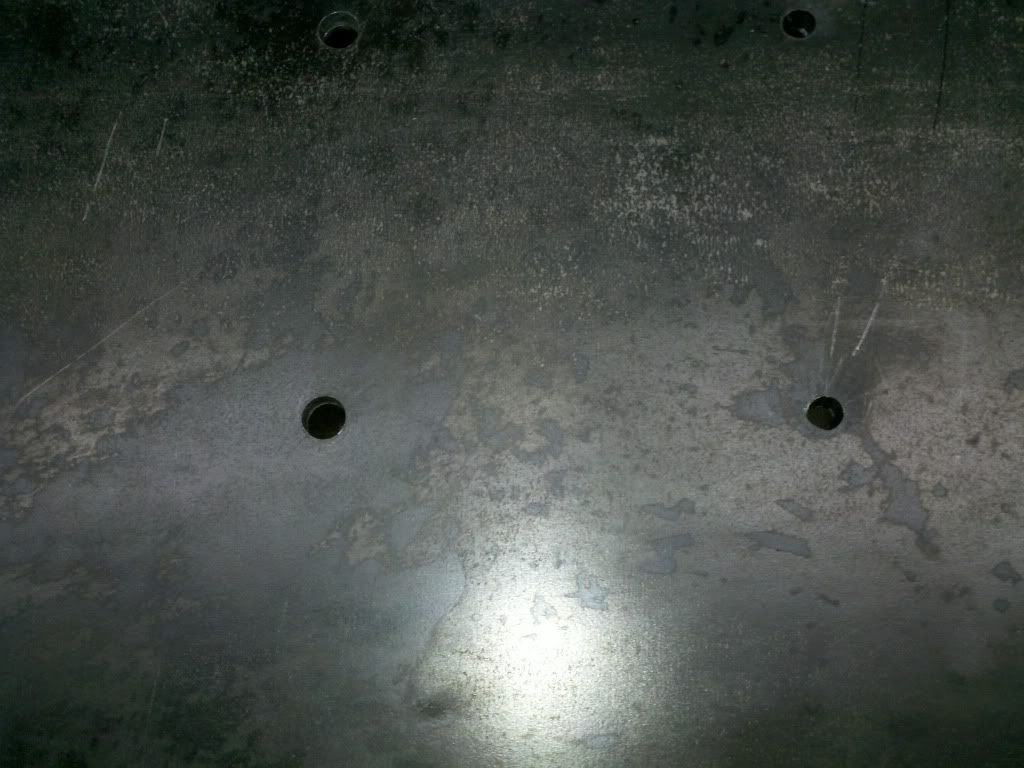
The pierced hole is on the right and the drilled on the left.
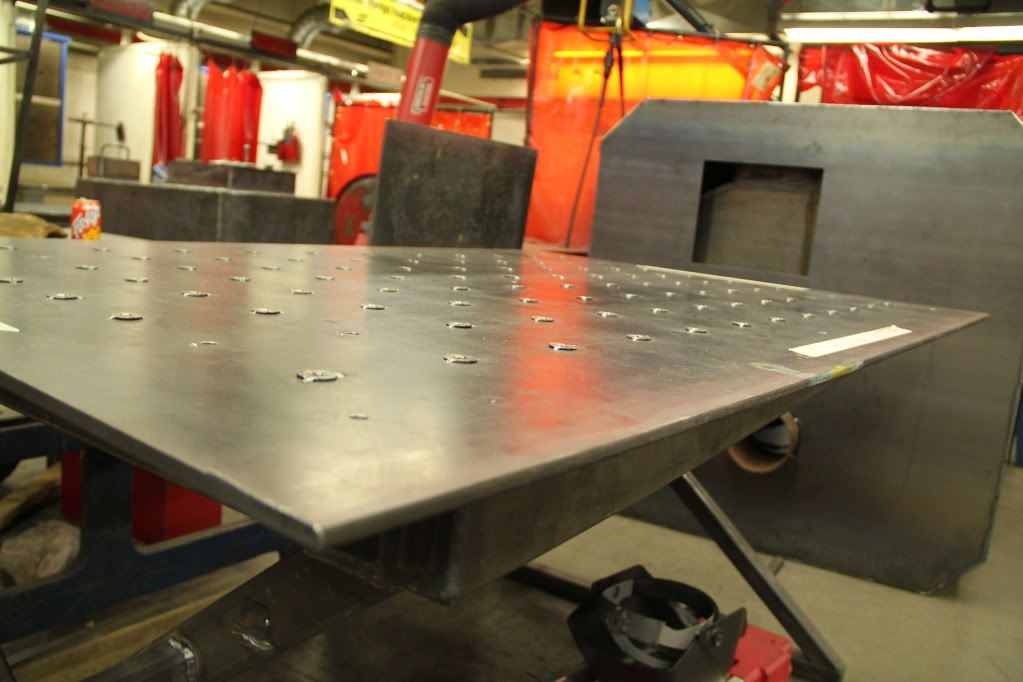
I used the pierced holes as pilot hole and broke out the mag drill. I drilled 96 holes with a 15/32" drill bit. I had to sharpen the bit 4 times
With all of the holes drilled out, I could finally do most boring yet most valuable (my opinion) part of the table. I decided to use weld nuts in every hole instead of threading the holes so that I could simply replace them if I cross thread them or get weld spatter in them. The flanges are on the bottom side of the table when it is together. They are relatively cheap at $6 per bag of 50. Because it is the most boring part, I decided to try the new camera to get some decent shots of them.
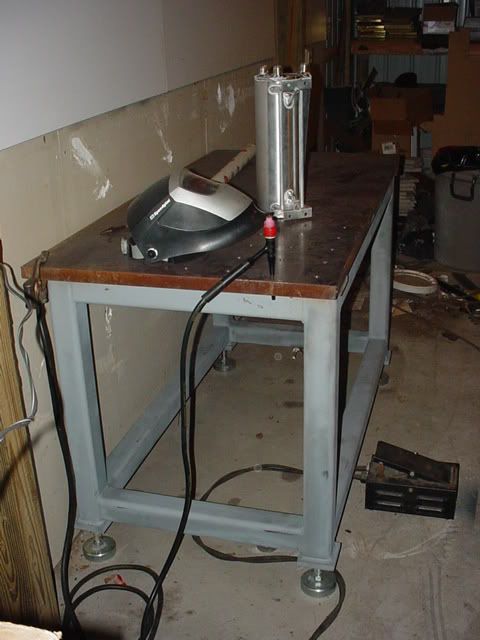
And here it is finally done and at home.
and next to my old table frame. The old top was made out of wood (obviously not the best for welding
I spent a few days thinking up ideas and finally decided on a design that I liked. I modeled it in Inventor and then made 7 pages of prints for it (no pics of prints, they are pretty standard)
After I received all of my materials, I started doing my detailed cuts for my parts. The table is made from 2x2x3/16" tubing and 2x3x3/16" tubing. The top is made from 3/8" thick steel.
Once the parts were cut, I started working on the legs for the table.
If you look closely, the angle finder says 0.0 degrees (perfectly level

Once the legs were done, I focused on the frame of the table.
After the frame was done, it was time to join them together. I don't have any pics of when I combined them but I do have a picture of the table standing after I was done. The cut outs on the top are there so that I can mount my bench vise on a post that slided under the top and is held in place with a pin. I will be able to move my vise if its in the way or needs to be placed in another spot to hold something.
With the frame completed, I needed to focus on the table top. It started as a 48x96" piece of steel and was loaded onto our plasma table. The final dimensions are 72x48. The plasma cutter made quick work of piercing the grid of holes that I wanted.
The pierced hole is on the right and the drilled on the left.
I used the pierced holes as pilot hole and broke out the mag drill. I drilled 96 holes with a 15/32" drill bit. I had to sharpen the bit 4 times

With all of the holes drilled out, I could finally do most boring yet most valuable (my opinion) part of the table. I decided to use weld nuts in every hole instead of threading the holes so that I could simply replace them if I cross thread them or get weld spatter in them. The flanges are on the bottom side of the table when it is together. They are relatively cheap at $6 per bag of 50. Because it is the most boring part, I decided to try the new camera to get some decent shots of them.
And here it is finally done and at home.
and next to my old table frame. The old top was made out of wood (obviously not the best for welding


 .
.